Step 1: Cleaning and Priming
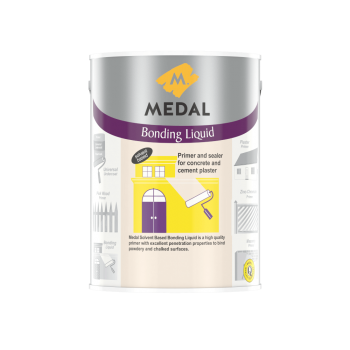
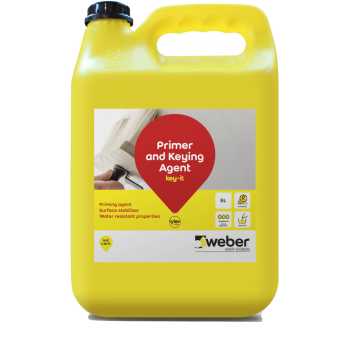
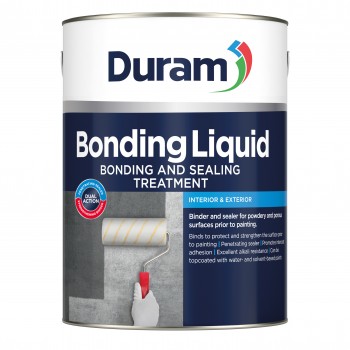
Before you start tiling, ensure the surface is dry and sweep the floor to remove dirt and any loose brittle sections. Once clean, we can prime the surface with a mixture of Plaskey and Key-It to create a slurry coat.
Mix together 1 part Key-it and 2 parts Plaskey and with a mixer to create a slurry coat (a semi-liquid mixture).
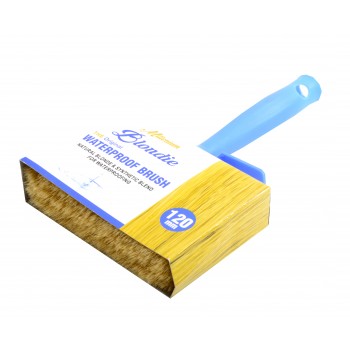
Apply the slurry coat using a block brush, allow the slurry coat to dry for 24hrs before tiling.
Once the slurry is dry, we are ready to mix the tile adhesive.
Step 2: Mixing
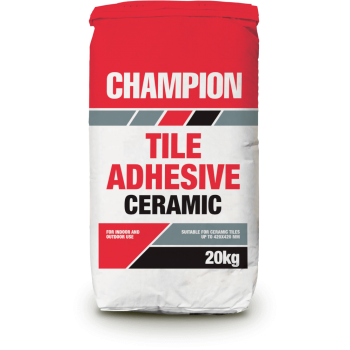
We are going to use Tylin Bont-It latex liquid instead of water, Use the same amount of Bond_it as you would water. Open a tile cement bag and slowly add the contents to the liquid. Using the wrong equipment to mix the tile adhesive increases the chance of air pockets and lumps in the mix. We recommend a mechanical mixer to eliminate air pockets in the mix and achieve a smooth and consistent creamy mix in less time. Allow mixture to stand for 5 minutes for adhesive to activate. Mix again for 1 min right before use.
Step 3: Application
Applying the tile adhesive, using the correct trowelling technique is important to ensure proper bonding of the tiles. As illustrated, these glass tiles, spot bonding or swirl patterns are not recommended as these application techniques create air pockets below the tile that result in weak spots and eventual delamination. It sis recommended to trowel in straight lines as this technique provides increases coverage under the tile by eliminating the air as the trowel lines collapse. As seen in the video, pockets of air is easily removed below the tile increasing the coverage and the bond.
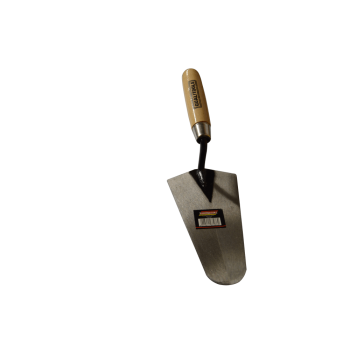
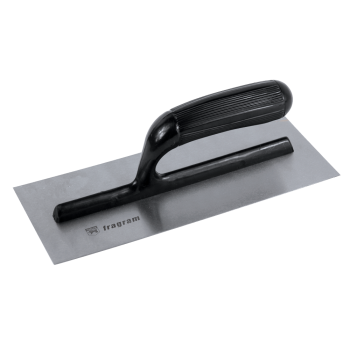
Transfer the Tile cement mixture to the primed surface using a gauging trowel and using a notched trowel, spread the tile adhesive mixture evenly in straight lines and across the primed surface.
Step 4: Embed Tiles
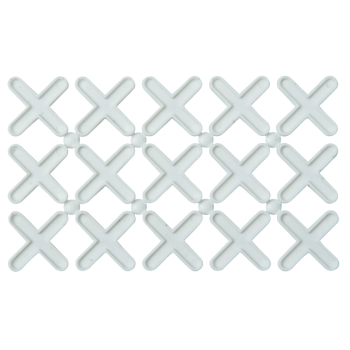
Bed dry tiles into the adhesive with a side to side action, to collapse trowel lines, ensure there's full contact between the wall or floor tiles and adhesive. Remember to add spacers as you progress.
When installing wall tiles and large and extra large tiles or when tiling above underfloor heating elements, double buttering is recommended. Double buttering is when you apply adhesive to the back of the tile as well, to completely eliminate air pockets and increase bonding. Lift occasional tile to check if there is full contact of the adhesive on the back of the tile.
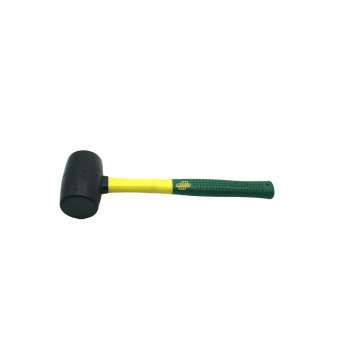
Tiles should be well tapped with a rubber mallet. Allow tile adhesive to set sufficiently overnight before preceding with grouting the joints using the All purpose grouts.
Related Products
