Step 1: Cleaning
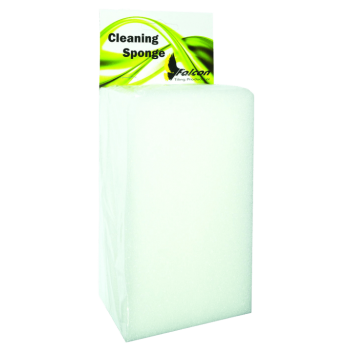
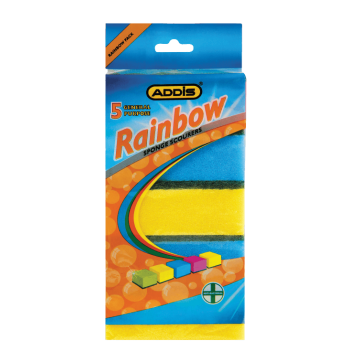
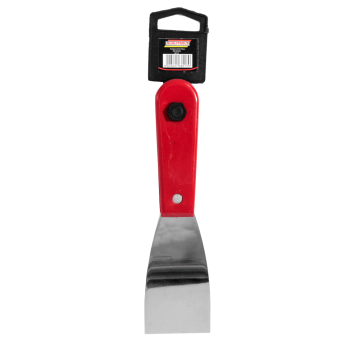
Prepare the surface by removing excess tile adhesive with a damp grouting sponge and wipe the tiled area. Make sure your sponge is damp and not wet. Use a scraper to remove stubborn bits while careful not to scratch the glaze. Clean out the tile joints with a grout rake and clean the tiles with a damp grouting sponge.
Step 2: Mixing
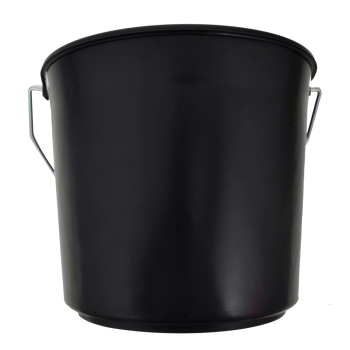
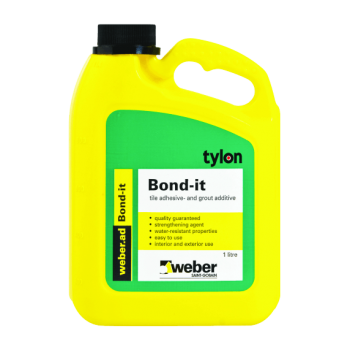
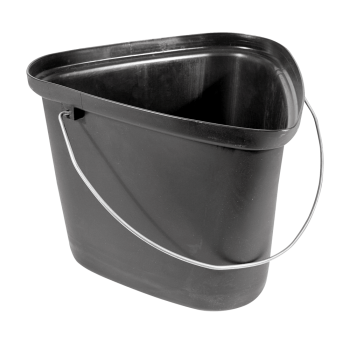
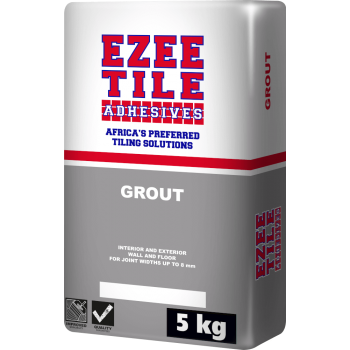
Add 1.35l of clean water to a mixing bucket, you can replace the water with a Bond-It liquid to increase the strength of the water resistance and flexibility. Cut open the grout bag and add it to the water. Mix well to form a creamy, lump free consistency and mix slowly to ensure the colourants do not separate. Let the mixture stand for 3 to 5 minutes to allow the mix to stiffen and then mix again for 1 to 2 minutes.
Using a mechanical mixer at low speed eliminates air pockets and provides a smooth consistency.
Step 3: Application
Apply the grout to the tiles using a grout float, moving across the tile joints at a 45 degree angle to prevent the float from getting lodged in the joints. Work the grout into the tile joints. Completely fill the joints leaving no voids.
Step 4: Clean Excess
Once the joints have been filled completely, carefully clean off the excess grout with a damp grouting sponge, moving across the tile joints at a 45-degree angle. Be careful to ensure you do not remove grout from the joints. Rinse the sponge frequently in clean water. Inspect the tiled surface continuously for missed areas or pinholes.
Step 5: Wipe Down
Once the entire area was has been grouted and cleaned, wipe down the surface for the second time to remove the grout haze.
Related Products
