Related Products
Plumbers can be expensive and sometimes doing it yourself is a good money-saver. Replacing a toilet cistern flush valve is one of the simpler plumbing jobs you can easily do without enlisting the services of a professional.
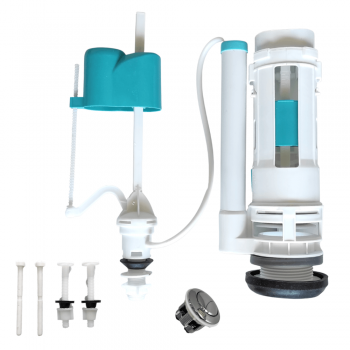
All the flush valve kits available at Cashbuild come with easy to follow step-by-step instructions.
Replacing a flush valve is usually a standard task, whether you're dealing with an old-fashioned tank or a state-of-the-art new design. An average DIYer can replace a flush valve in about an hour with basic tools and minimal fuss.
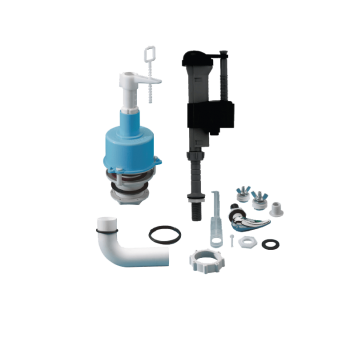
The replacement valve, a cloth, new tank-to-bowl gasket.
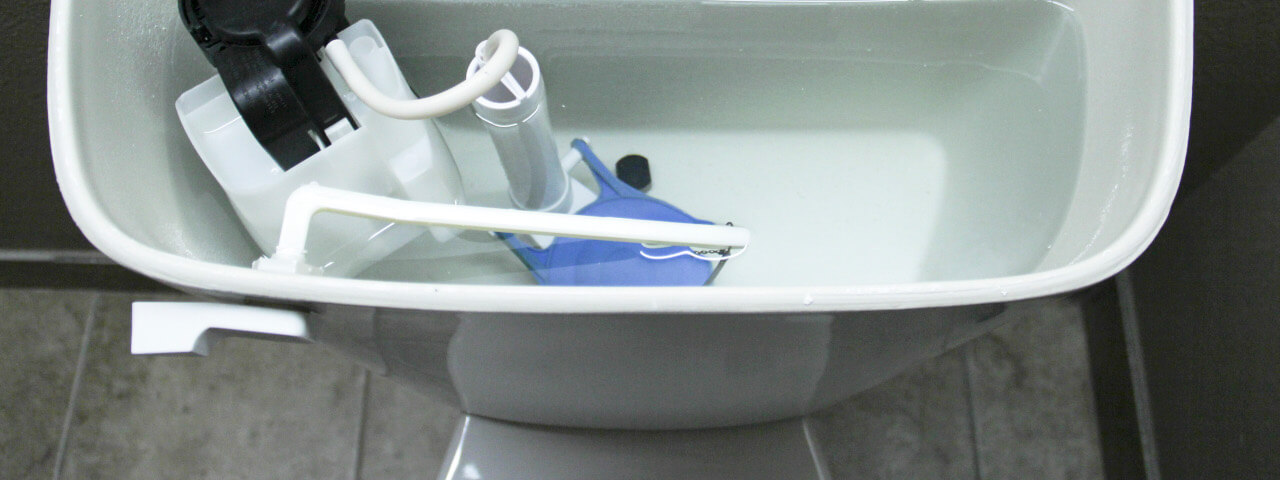
Lift the cover of the toilet cistern and carefully put it down where it won't crack or break. Turn off the water supply to the toilet by closing the tap on the wall behind the toilet. Flush the toilet to drain the water from the cistern. Use a cloth to absorb the remaining water at the bottom.
Unclip the old valve assembly (2) from the base. While you're at it, check the tank-to-bowl gasket – often the cause of that annoying drip after flushing. Replace it if necessary.
Clip the new valve assembly in place onto the cistern outlet. Do not adjust the overflow stem (3) yet. Reopen the wall tap and allow the cistern to fill up to the nine-litre level. Then adjust the overflow stem (3) until the underside of the top bracket (4) touches the water. Turn the overflow stem anti-clockwise to lock it.
Reattach the adjusting rod (5) to the top bracket. Carefully replace the cistern cover.
These instructions are for a nine-litre flushing system. If you have a six-litre flush, simply adjust the inlet valve float to fill to the six-litre mark but leave the overflow stem (3) set at the nine-litre mark.
Related Products