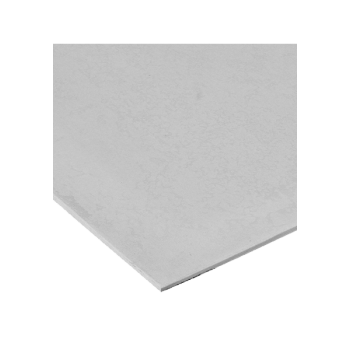
Step 1: Planning the Space
For a balanced aesthetic start by placing the boards from the centre of the ceiling.
Step 2: Measure
Measure the full length of the wall. Take that measurement to the board and deduct 10 mm from that measurement. Those two marks are called the benchmarks. Use the chalk line to connect those two marks to create a straight line. Use the utility knife to cut along the chalk line mark. Once cut, lift the board horizontally. Then proceed to pull the board towards you from the uncut side. Snapping the board. Cut the paper on the backside from the right to the left, snip off the or cut and use a rasp to smooth out the edges. Proceed to take a piece of the board to the installation area.
Step 3: Installation
Lift the board and place it against the grid and fix all screws using a drywall screw, gun and gyprock 25 millimetre sharp point screws. Make sure that the board is in line with the mark made while measuring. Create a straight line using the chalk line. Proceed to measure 150 mm in intervals and make your markings for your additional screws and then proceed to insert the screws. Measure the width of the board and cut the M strip for that measurement, using a tin snip, cut the M strip and insert the M-strip into the board. Measure the remaining ceiling space, cut an additional ceiling board according to your measurement, and proceed to insert the cut board. Fix the board onto the ceiling grid using a drywall screw gun and screws.
Continue following the previous steps to complete your ceiling installation for your designated area.
Related Products